2018年9月25日星期二

Problem solving and case analysis of card in lighting buffer stage

This article is for cloud rendering only.
Find possible reasons for scene rendering card in the lighting buffer stage, it may not apply to all scenarios, but most scenarios can be applied.
step1:If the rendering is submitted to the cloud render, it will be stuck in the lighting buffer stage. First thing you can do is render time on the local test and confirm whether it is caused by scenario parameter problem.
step2:Check if there are any problems in the scene. The common reason for getting stuck in the lighting cache stage is the problem caused by lighting. It is recommended to check the intensity of the light parameters such as power and multiple increment.
Step3:Next, check if there are problems with the scene’s model and material. Problems with models and material settings in the scene will also cause the rendering card to be in the lighting buffer stage.
Step4:If none of these steps can solve the problem, you can try using high version V-Ray for rendering, In a few cases, problems with some versions of the V-Ray itself may also lead to rendering cards in the light buffer phase.
Case list
1. Question Description:
Rendering is always stuck in the lighting buffer stage.
2. Local environment:
3ds Max2014 + Vray 2.40.04
3. Problem phenomena:
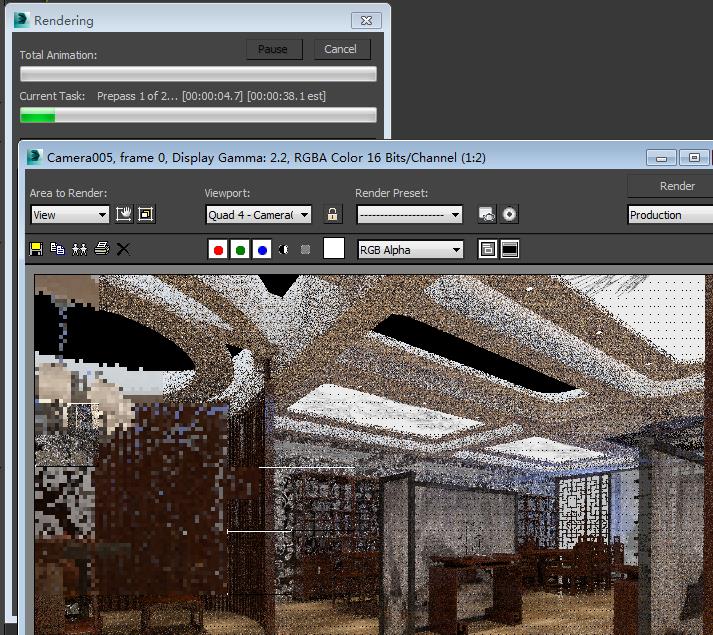
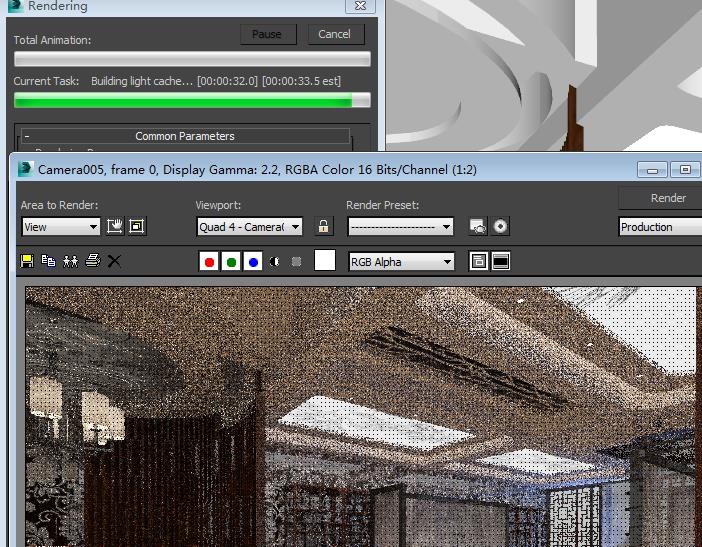
As shown in the following figure, in building the lighting cache stage it has been unable to pass, and the total render time estimated in the render preview window is 00:00:00.
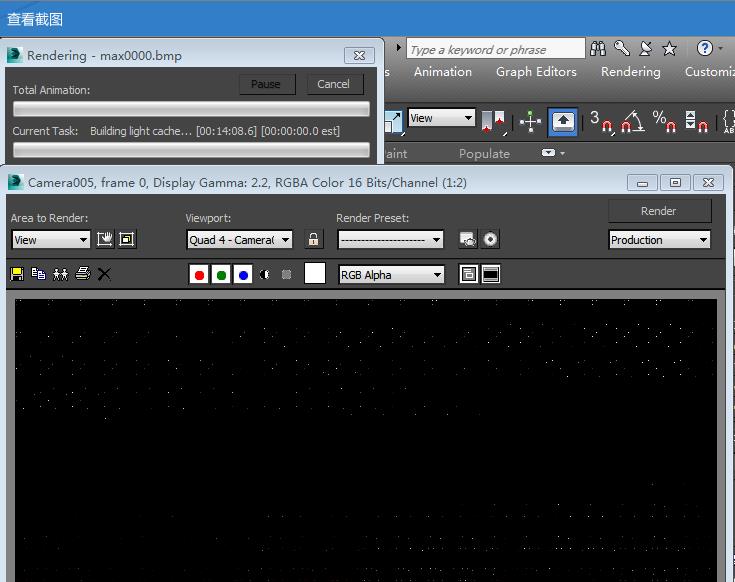
and the total render time estimated in the render preview window is 00:00:00.
4. Analysis process:
Step 1:The original and cloud scenes are tested on the local machine. Rendering time takes a long time and has been stuck in the lighting buffer stage. Exclusion is the rendering card caused by the cloud machine problem in the lighting buffer stage. The rendering time of this scene should be long due to problems in the original scene.
Step 2:build the lighting cache phase is stuck, generally, there are problems with lighting materials in the scene. So, let's check the lights in the scene first. All the findings were normal after initial examination, we will further confirm our conclusion with the exclusion method. We hide the lights in the scene after rendering or find them stuck in the lighting buffer stage. Therefore, the exclusion is the lighting problem which results in the rendering card in the lighting buffer stage.
Step 3:Check the scene model. Change the material in the scene into white mold material, rendering is normal. The exclude is the rendering card caused by the model in the lighting buffer stage.
Step 4:According to the first three steps, we can basically confirm that there are problems with the material in the scene leading to the rendering card in the lighting buffer stage. Next we will try to locate the problem material, the exclusion method is still used. Search by hiding material one by one. Finally, we found that there was something wrong with the material on the top of the scene, after hiding the material, rendering is normal.
The material of the problem is as follows:
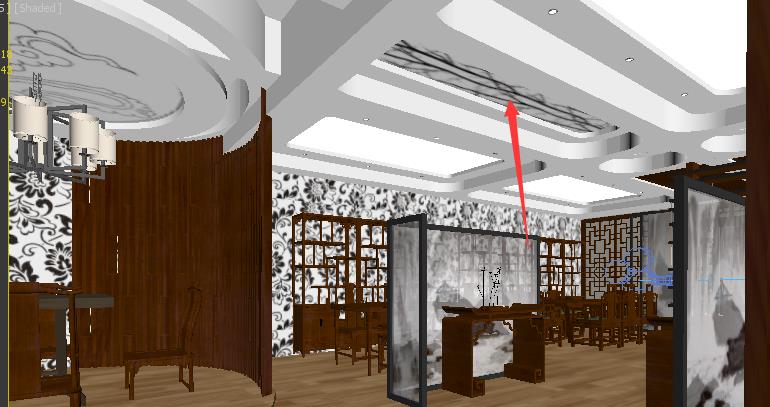
The material of the problem
After hiding, it can render normally.
After hiding, it can render normally
Step 5:Through the previous step, it was decided that there was something wrong with the material on the ceiling. Open the material editor to see that the material is mixed material. After rendering this material to a V-Ray, the rendering is normal.
The method of adding V-Ray to cover material is as follows:
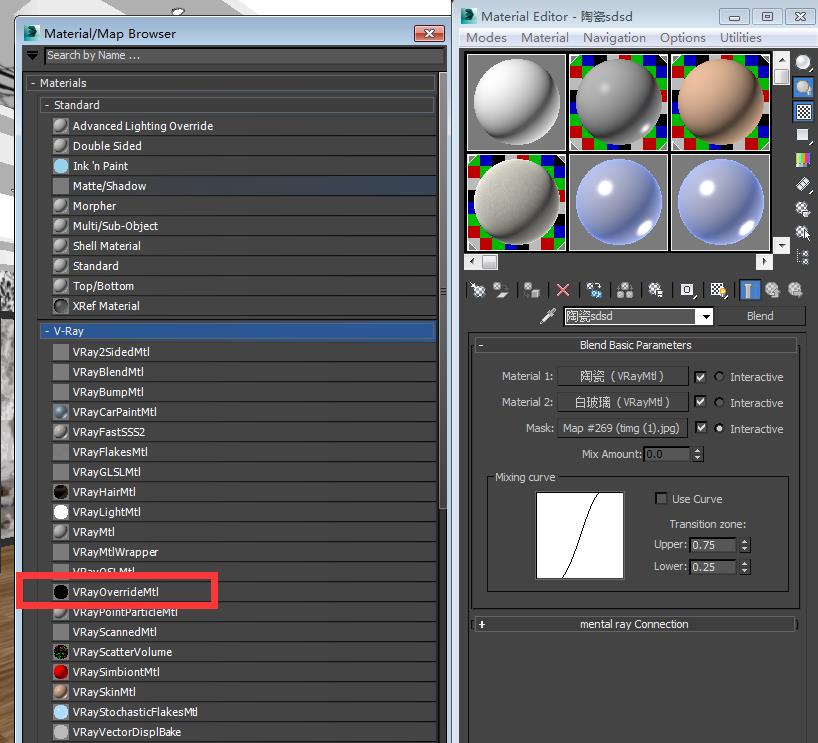
The method of adding V-Ray to cover material
After adding V-Ray coverage, render normal:
After adding V-Ray coverage, render normal
5. question summary:

From the above analysis, the reason of the scene rendering card in the light cache is mainly caused by the problem of material in the scene. You can add a v-ray to the problem shader to cover the shader, this problem can be solved.

2018年9月13日星期四

3DS Max plug-in StereoCamera usage

StereoCamera introduction
Intro.
Studio MAX ® Autodesk and Autodesk Maya ® have mature 3D rendering capabilities. An intuitive stereoscopic camera model is provided for this plug-in. Users can control the stereoscopic effect of their own scenes and provide a fast workflow for users. The integrated 3D real-time real-time preview can quickly adjust the stereoscopic effect, so no need to reappear.
Instructions
Create stereo cameras
1. Create or open scenes. Good maps and scenes will make the StereoCamera plug-in easier to use.
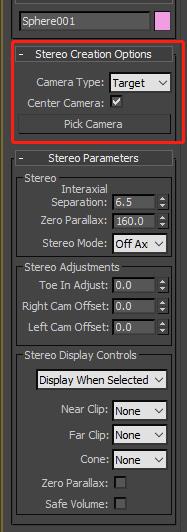
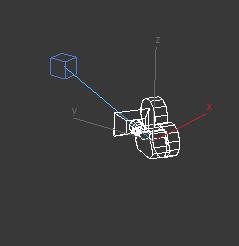
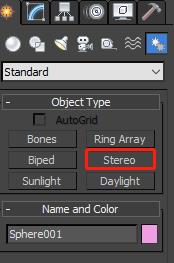
2. Create StereoCamera, camera controls
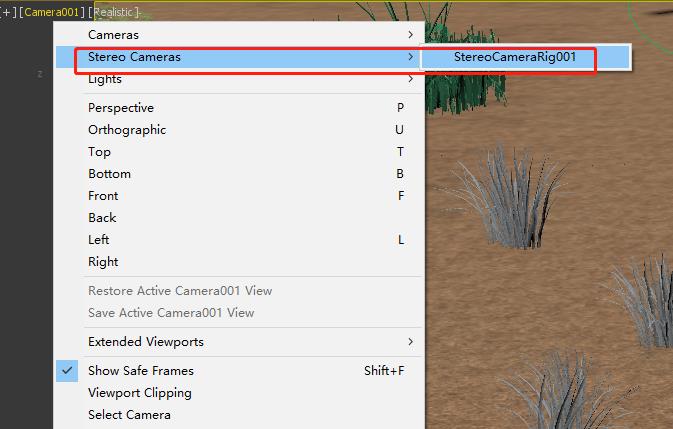
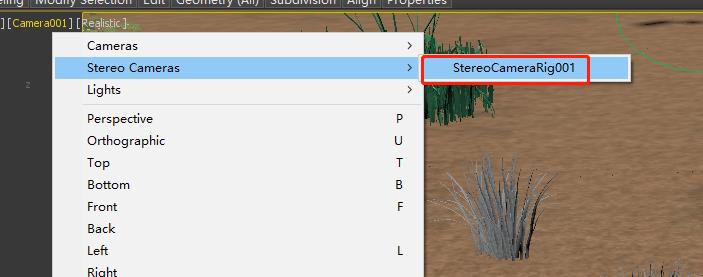
3.Click the viewport menu on the 3DS Max window to select the StereoCameraRig001 control of the stereo camera (Or your custom name.).
It can be done in a scene that has been built, Build StereoCamera controls based on existing cameras.
Create an independent StereoCamera.
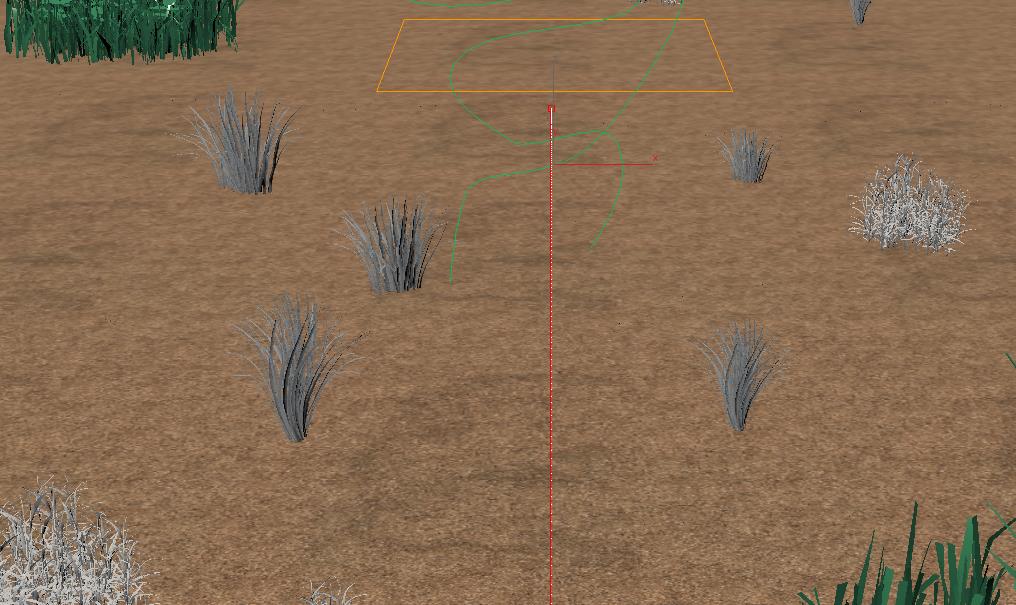
Moving StereoCamera controls in viewport views can be adapted to match scenario requirements.
4.Use stereoscopic camera menu options to display data in stereoscopic views.
Rendering stereo camera scenes and animations
1. Select a stereo StereoCamera control.
2. Open the StereoCamera control component.
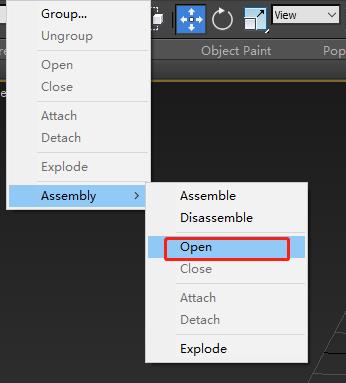
3. Select Open component options in group menu
Parameter
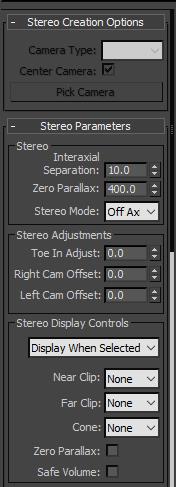
StereoCamera camera parameters
Stereoscopic window display mode
Switch the camera to StereoCameraRig001 first.
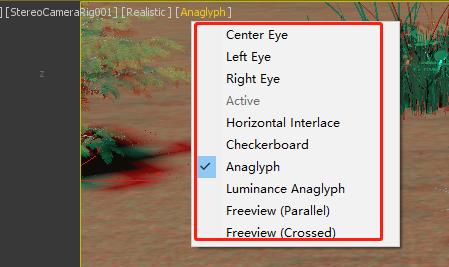
Switching viewport labels can see different viewport effects.
Center Eye
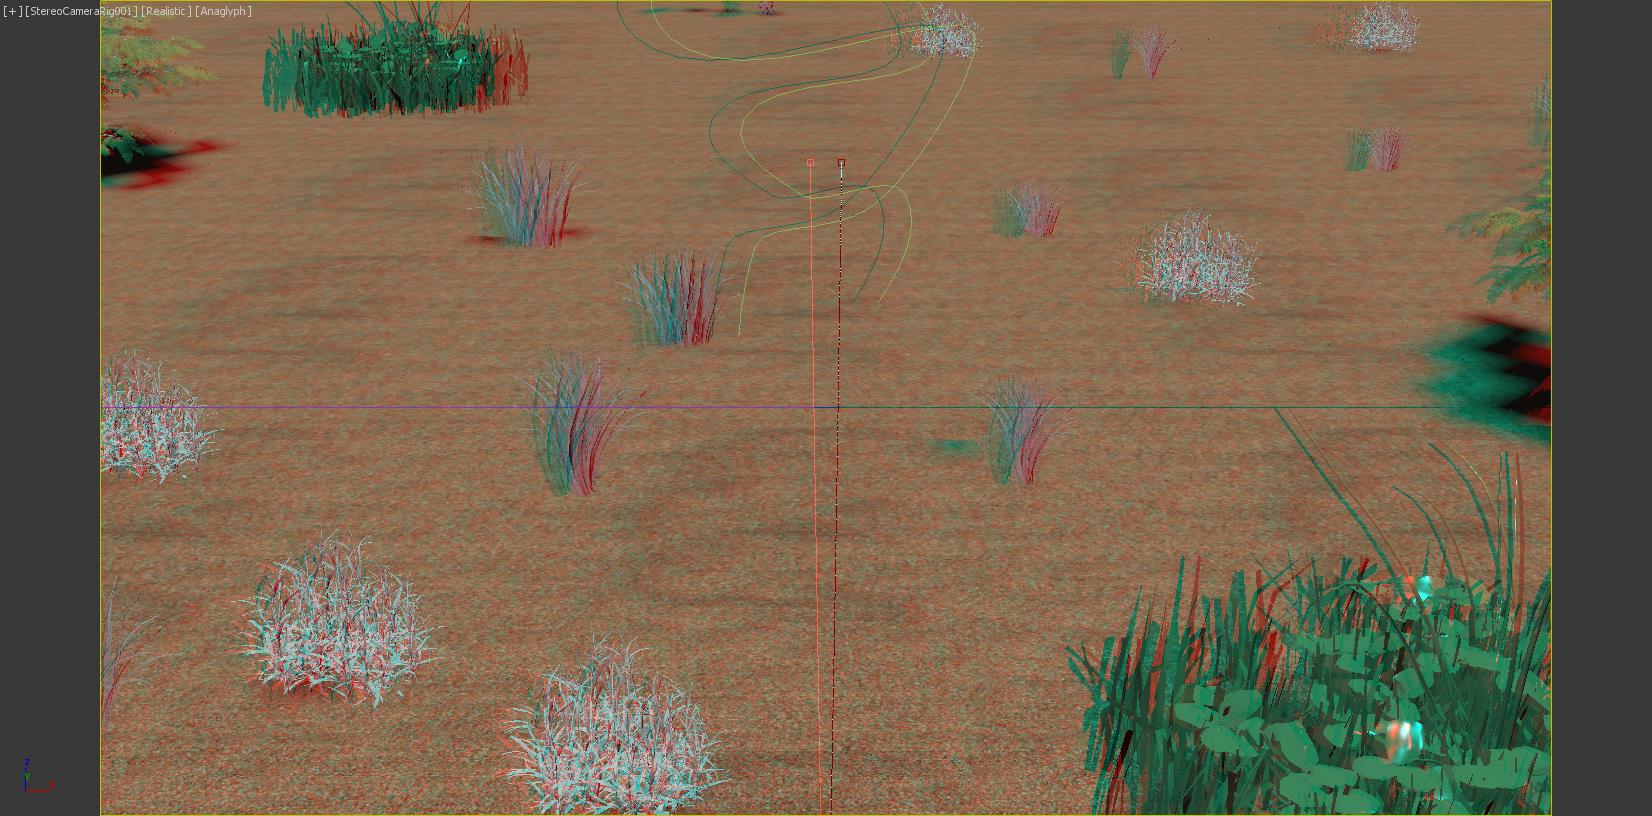
Anaglyph
Explain
1. The StereoCamera control copied or referenced is invalid.
2. The depth effect of the MentalRay renderer cannot be displayed in the stereoscopic camera view.
3. When you first use Active, Horizontal Interlace, Checkerboard, or Anaglyph (and Luminance) when the mode is displayed. Three dimensional effects may show errors, refreshing windows can see the correct picture.
First switch to StereoCameraRig001
The display modes involved are all under third labels.
4. Active, Horizontal Interlace, Checkerboard, or Anaglyph (and Luminance Anaglyph) Mode does not support Nitrous progressive rendering.
5. When you view activity patterns in a separate monitor. The background and visual style of the stereo camera view does not apply to the stereo display.
Test
Test scenarios
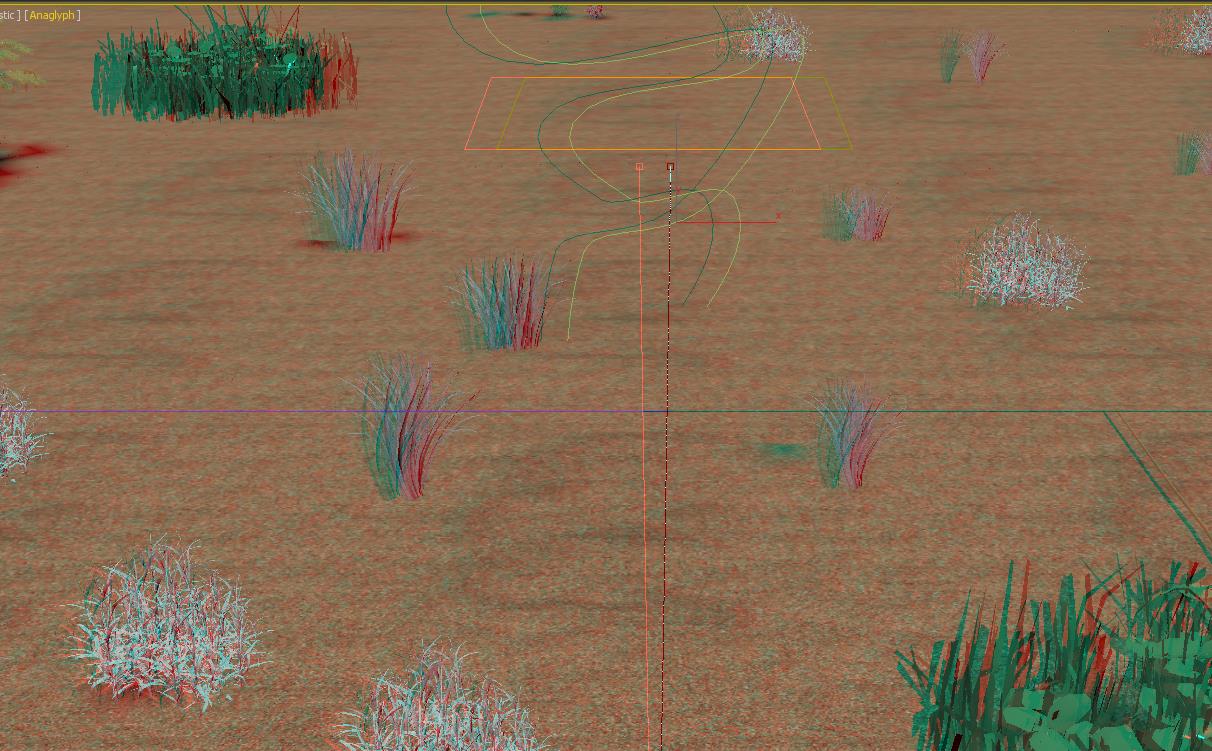
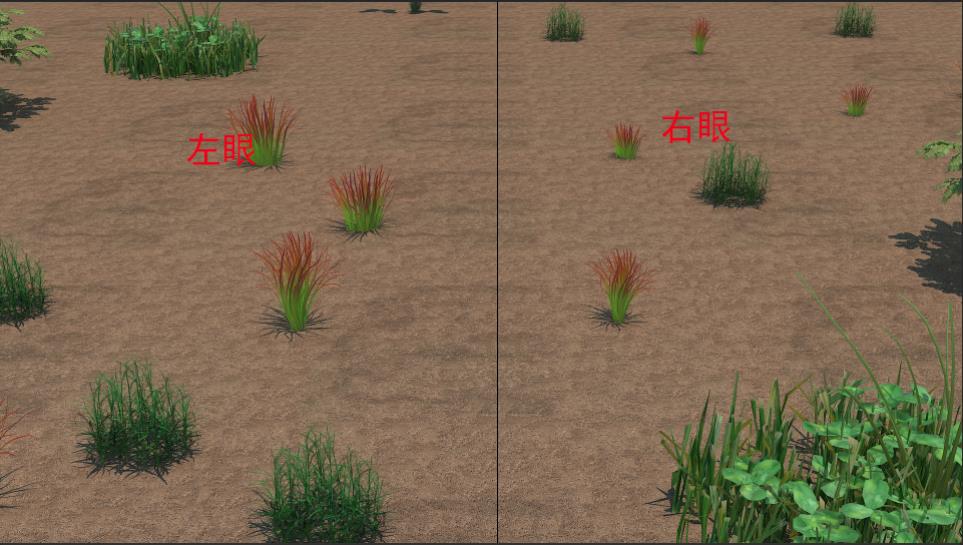
Left and right eye rendering effect: Normal left-right deviation occurs.

2018年9月12日星期三

Contrast of exposure control in local rendering and cloud rendering

Local exposure control test
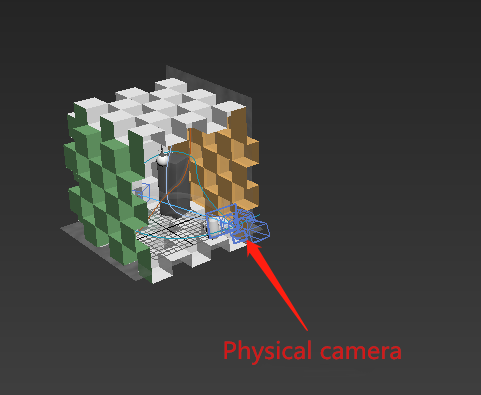
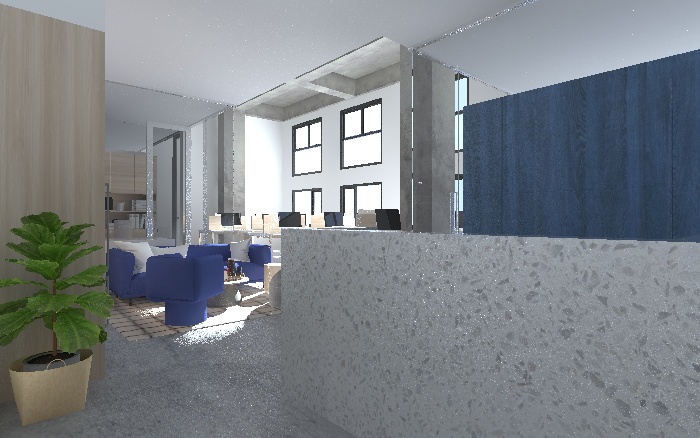
Test environment 3ds Max2016. The test scenario is shown in the following figure:
Test environment 3ds Max2016
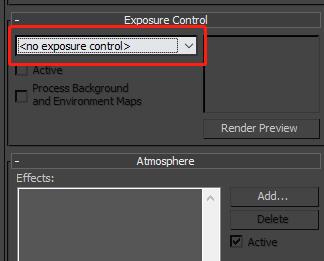
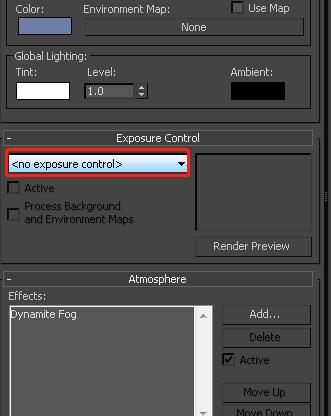
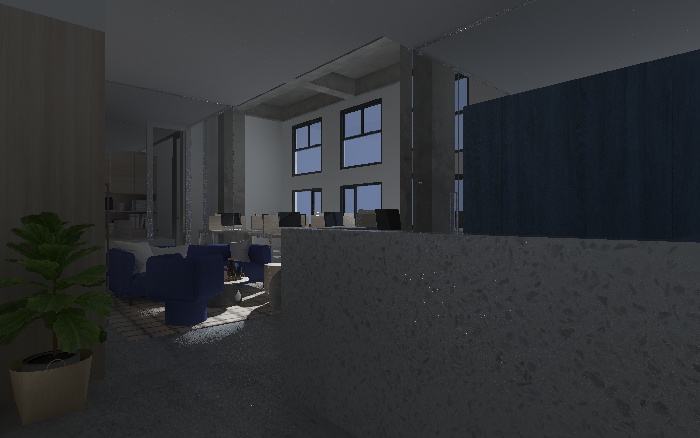
Test 1. No exposure control
No exposure control
No exposure control
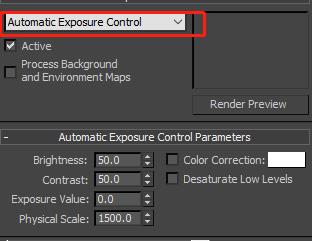
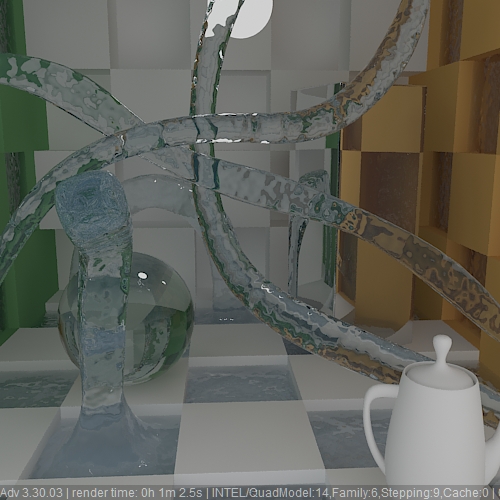
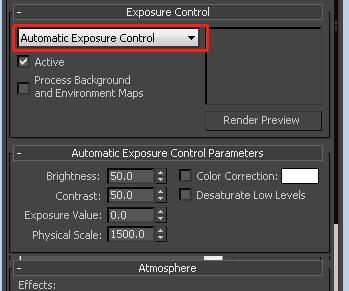
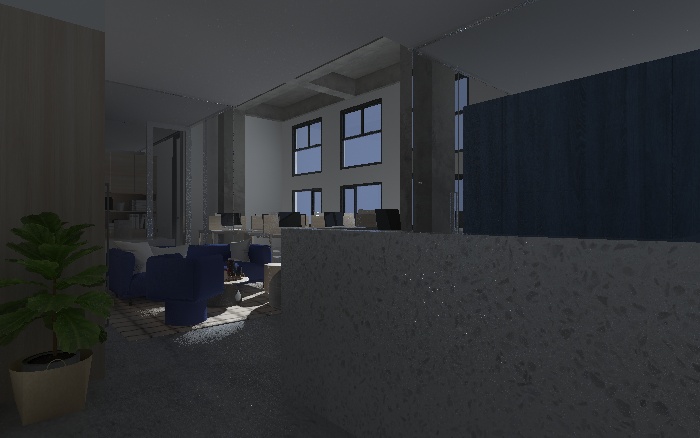
Test 2. Automatic Exposure Control
Automatic Exposure Control
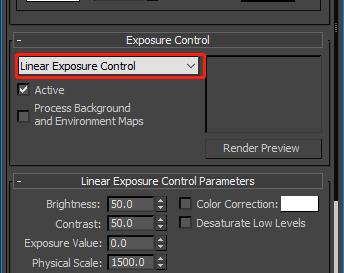
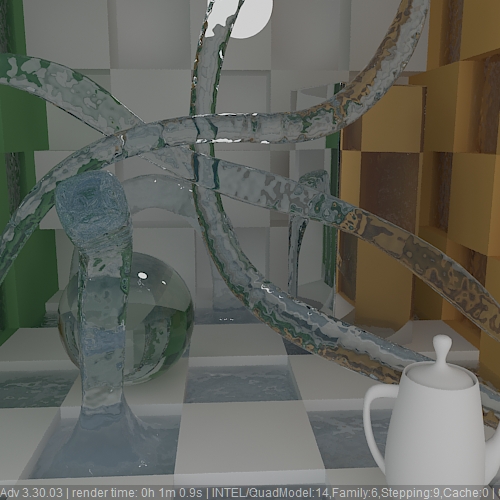
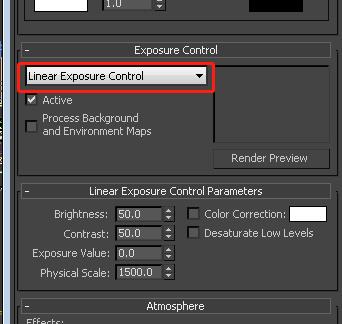
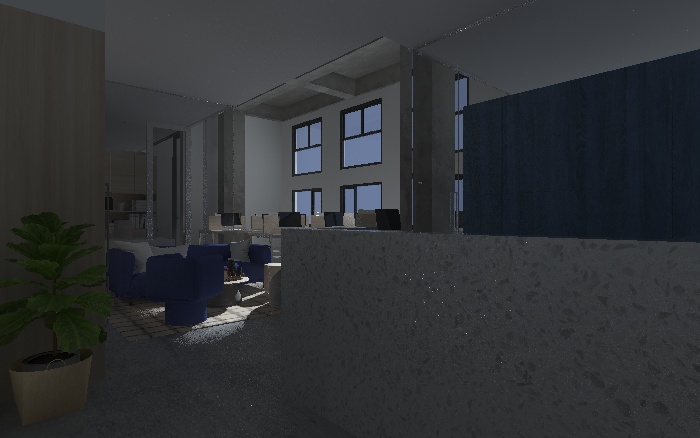
Test 3. Linear Exposure Control
Linear Exposure Control
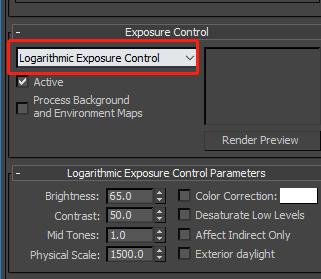
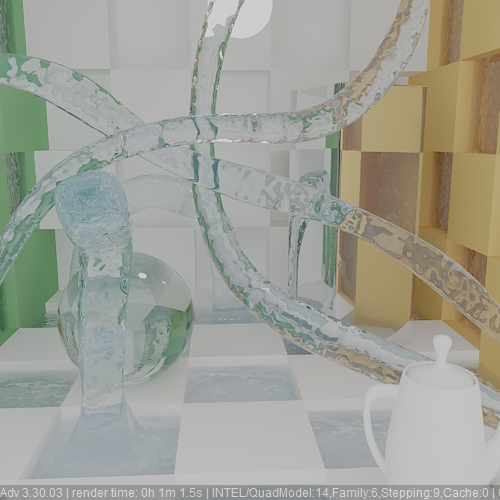
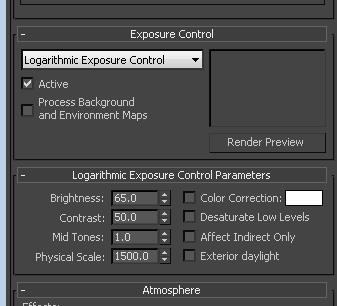
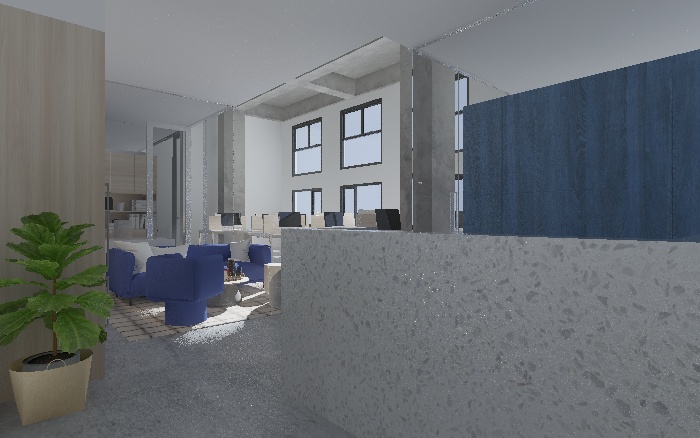
Test 4. Logarithmic Exposure Control
 Logarithmic Exposure Control
 Logarithmic Exposure Control
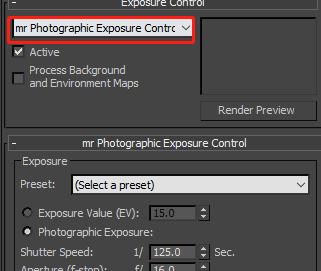
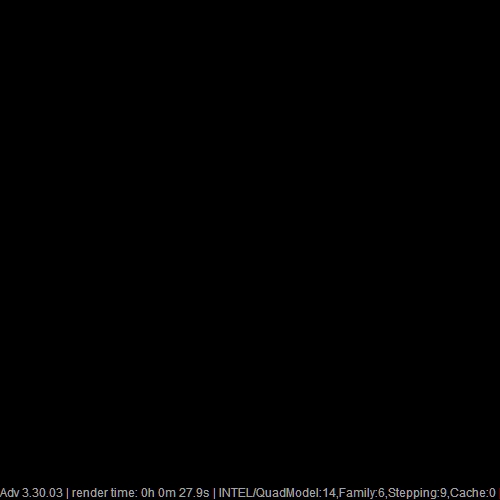
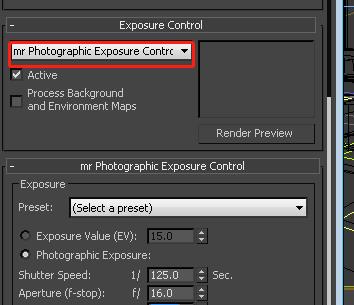
Test 5. mr Photographic Exposure Control
mr Photographic Exposure Control
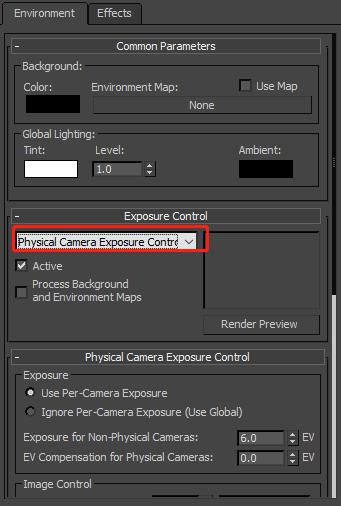
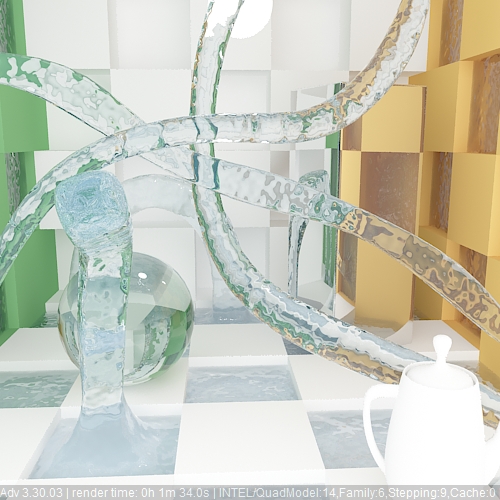
Test 6. Physical camera Exposure control
Physical camera Exposure control
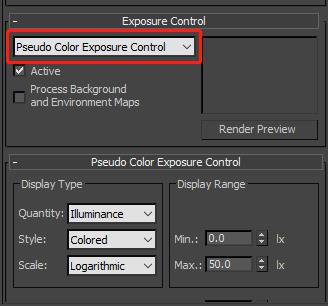
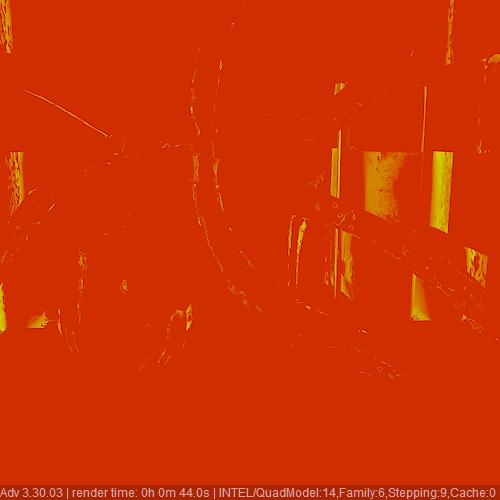
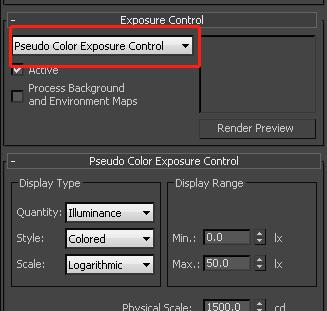
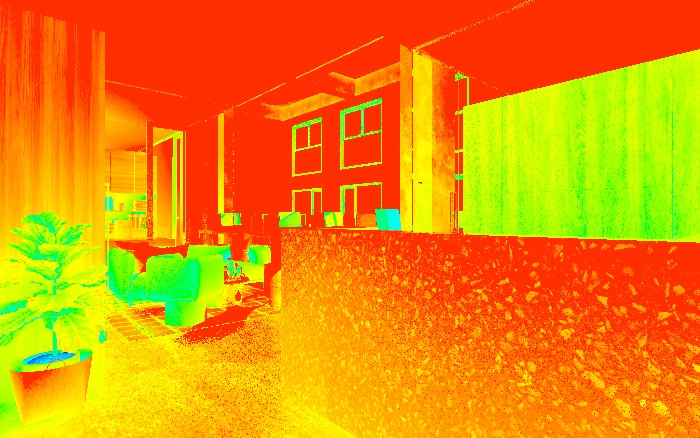
Test 7. Pseudo Color exposure control
Pseudo Color exposure control
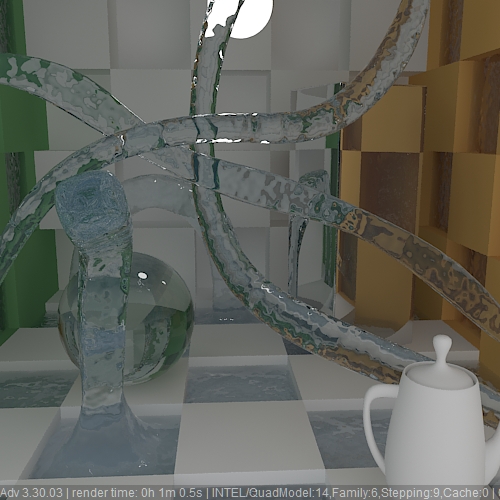
As you can see from the above test results, different exposure controls, the final rendering results are different.
Cloud scene test exposure control
Test 1. No exposure control.
Cloud scene test No exposure control
Test 2. Automatic Exposure Control
Cloud scene test Automatic Exposure Control
Test 3. Linear Exposure Control
Cloud scene test Linear Exposure Control
Test 4. Logarithmic Exposure Control
Cloud scene test Logarithmic Exposure Control
Test 5. mr Photographic Exposure Control
Cloud scene test mr Photographic Exposure Control
Test 6. Physical camera Exposure control
Cloud scene test Physical camera Exposure control
Test 7. Pseudo Color exposure control
Cloud scene test Pseudo Color exposure control
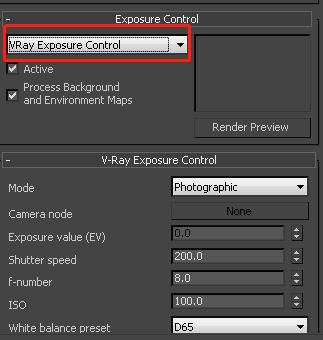
Test 8.V-Ray exposure control
Cloud scene test V-Ray exposure control
Conclusion:
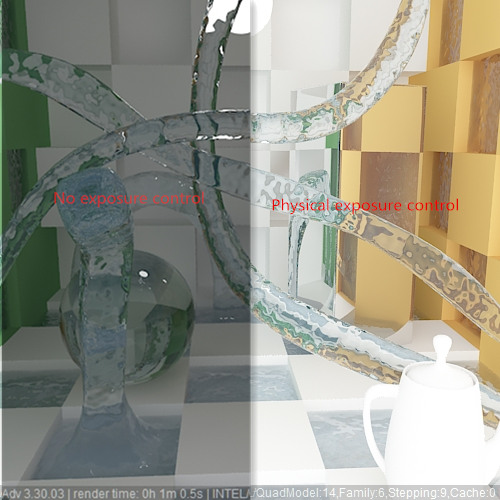
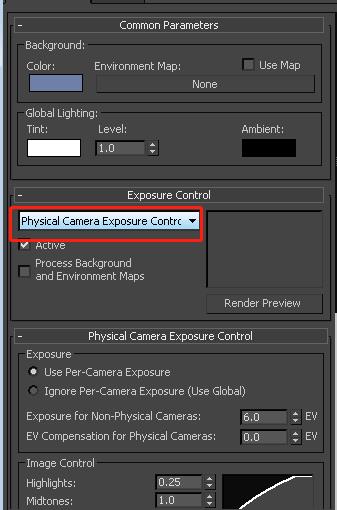
1. Through the above test we can see that the function of exposure control is the same as that of the cloud.
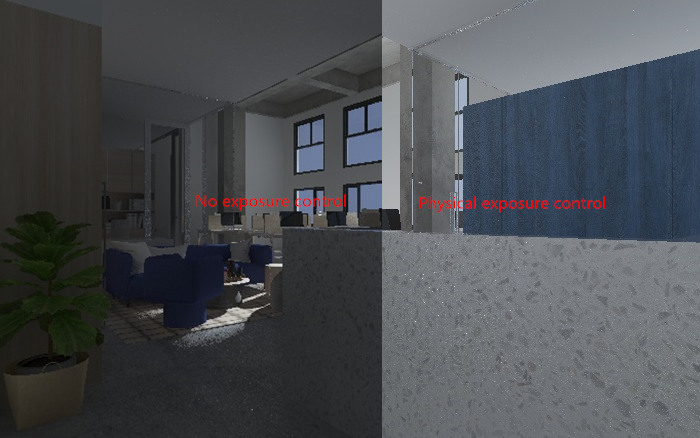
2、Using physical exposure control the scene will brighten up, and the effect is better than not using exposure control.
Local exposure control comparison
Cloud exposure control comparison